- Solar Panels
- Flexible solar panels
- 100 Watt flexible panel
The 100 watt flexible solar panel is ready for battery charging
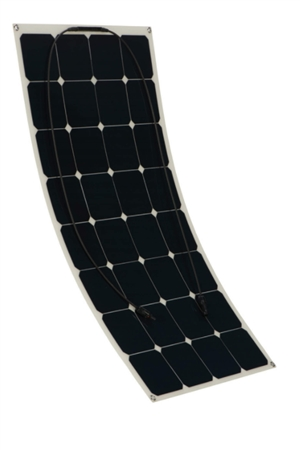 100 Watt flexible solar panel.
The 100 watt flexible solar panel with a controller is from Zamp Solar. This is a Flexi kit that is available for specialty applications.
This is known as the Zamp Solar ZS-100F-30A-DX 100W Flexible Deluxe Solar Panel Kit...
The flexible solar panel is only half an inch thick. The manufacturer uses Sunpower solar cells for high-efficiency light conversion. The efficiency is as high as 25%.
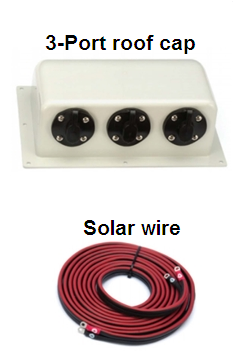 Three port roof cap & solar wire.
They manufacture the flexible solar panel in the USA.
100-Watt Flexi Kit comes with;
An UV rated 3-port roof cap. (Possible to use for future expansions.)
Solar wire to connect from roof cap to controller. (Without a fuse.)
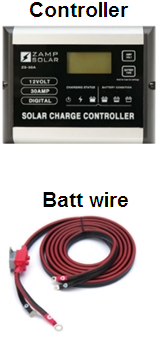 Charge controller & battery wire.
A flexible solar panel.
A pre-assembled flexible UV rated lead with SAE connectors.
Dual self-resetting circuit breakers.
A 30-Ampere PWM controller with five stages.
Battery wire to connect from controller to battery. (With a fuse.)
You can click here for a similar panel from Zamp Solar.
If you purchase a product through a link on this page, I do get a small percentage of commission at no extra cost to you.
100-Watt Flexible Panel Specs
Electrical
Power Output: 100-Watt.
Generates: 5.6 amps.
Mechanical
Weight: 4.65 lbs.
Size: 41.5" x 21.5" x 0.5"
Application
Charge any 12 Volt battery bank, including Lithium.
The Charge Controller
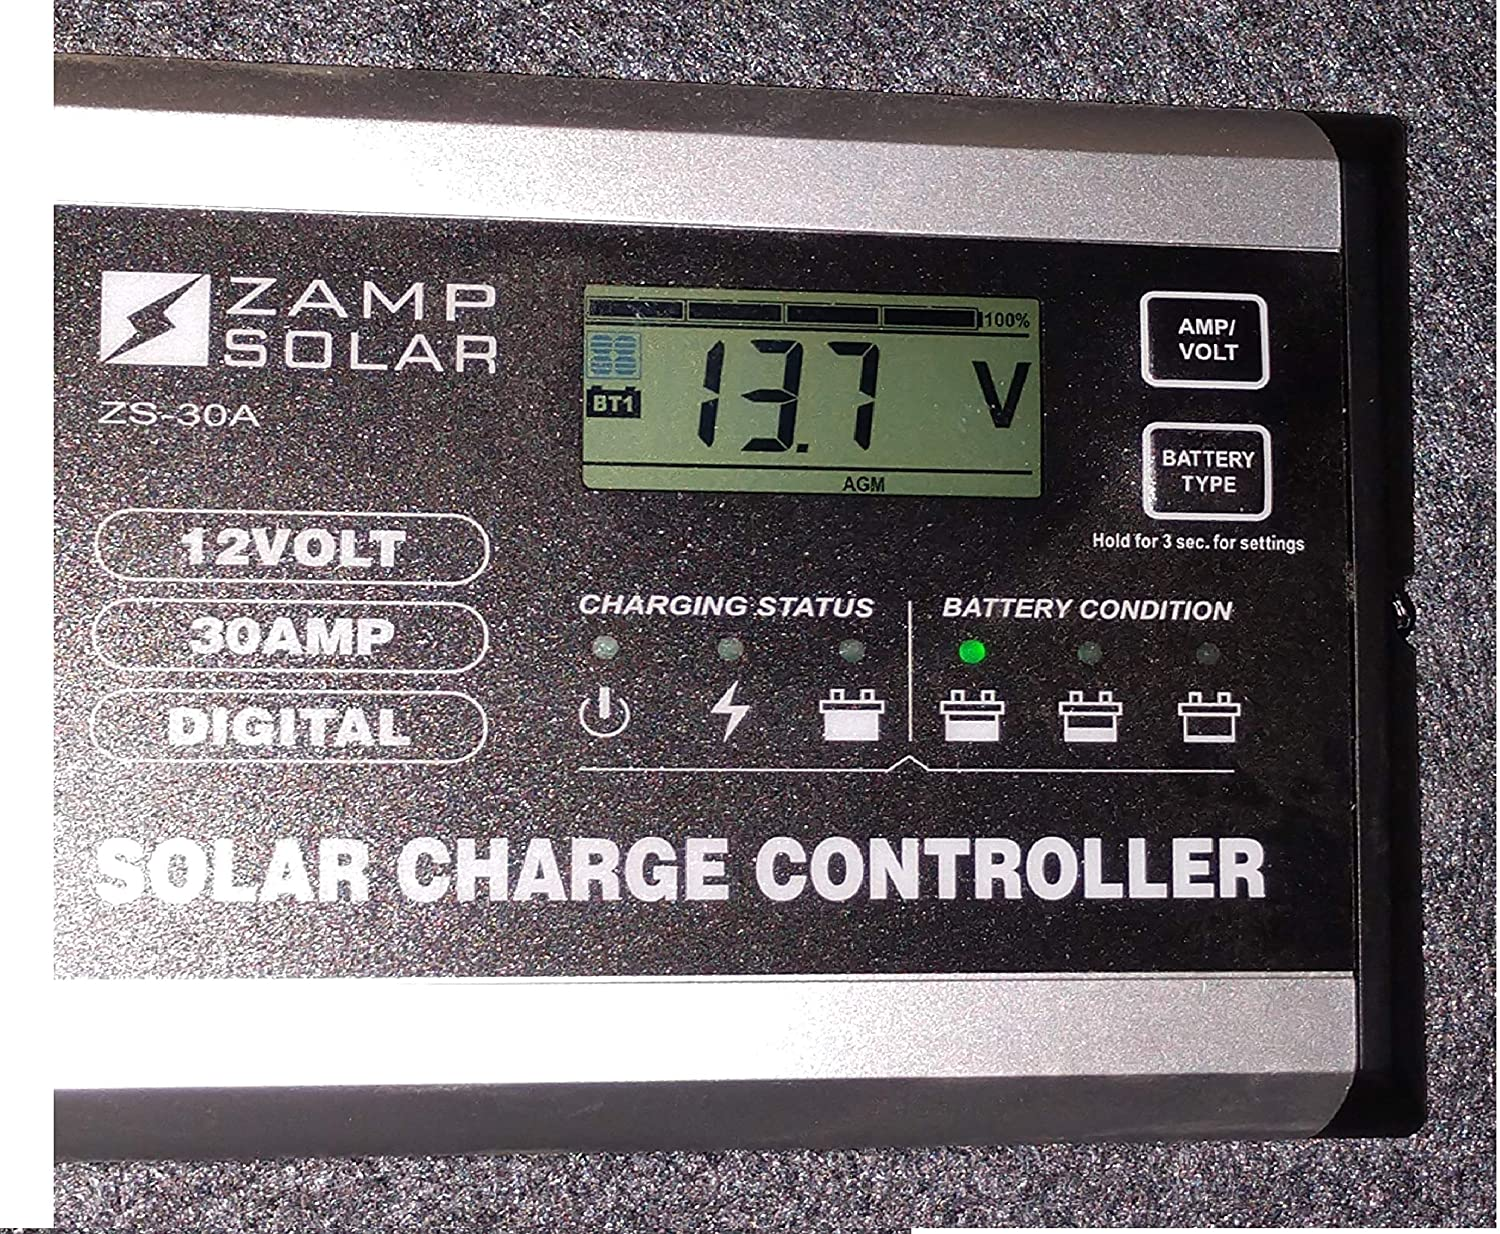 30 Amp controller.
- This solar panel module comes with a 30 Amp 5-stage digital solar charge controller.
- This is a PWM (pulse width modulation) controller.
- This charge controller does check, regulate, and protect your batteries.
- You must use the charger when you want to charge 12V batteries.
- With the digital 5-stage PWM controller, it is easy to read the power a glance. You get real-time updates of potential, current and amp-hours.
Stats of the 30Ampere PWM charge controller
Max Wattage 510 watts.
Working voltage: 12Volt.
Working current: 30 Amps.
Lowest operating voltage: 8V.
Working Mode: PWM Charging.
Dimensions: 6.14 x 1.5 x 4.7 inches.
Weight: 1.54 pounds.
IP Rating: No, not waterproof.
Connecting and operating the 100 watt flexible solar panel kit
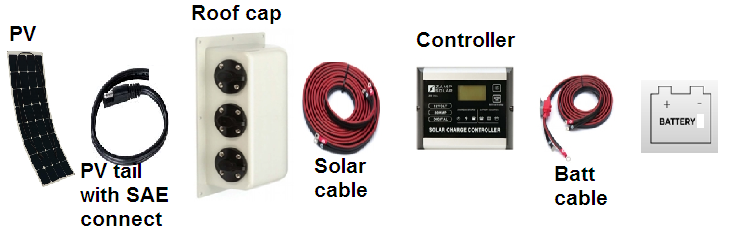 Connecting.
1. Install the solar panel on a suitable surface.
2. Then the 3 port roof cap.
3. Then you install the 30 amp charge controller in a well-protected area.
4. You should place the batteries somewhere in a safe space. Allowing for enough ventilation to prevent the buildup of unwanted gasses.
5. Now it is a matter of connecting.
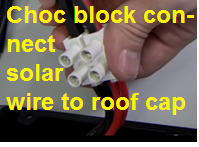 Chocolate block.
6. Before you connect, it is a good idea to place a cloth or a box over the solar panel. This is to prevent any unwanted output before the system is ready for safe operation.
7. Use the chocolate block at the back of the roof cap to connect one end of the solar cable.
8. Connect the other end of the solar cable to the controller using the two O-rings.
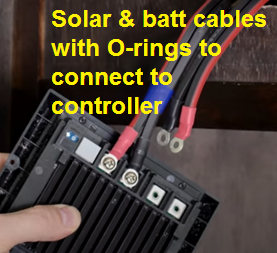 Connecting with O-rings.
9. Now connect the battery cable to the controller using the two O-rings.
10. Connect the other end of the battery cable to the battery by making use of the O-rings at the other end of the cable.
11. Lastly you connect the PV panel to the 3 port cap. This is by making use of the SAE connector at the end of the lead from the solar panel itself.
12. Now you remove the cloth/box from the panel and the system will be in operation.
13. The LCD on the charge controller will show the charging status.
Remember installations are much safer and easier when two or more people are doing it.
Advantages
- With the pre-assembled wiring, harness Installation becomes very easy. You do not need any crimping tools.
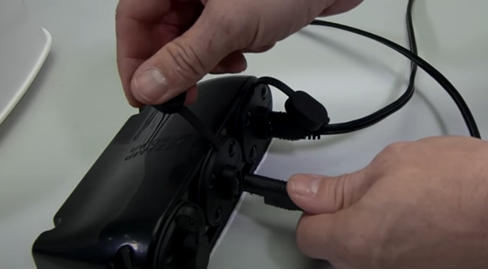 Three port roof cap for easy expansion.
- The three-port roof cap makes add ons simple and easy. You can plug in two more 100 watt panels for a much
larger output.
- The dual, self-resetting circuit breakers are a welcome addition. They protect your system from overcharging
- It is possible to flex the 100 watt flexible solar panel slightly to mount on an RV, camper, or boat with curved roofs.
- The wiring harnesses are flexible, pre-assembled, and UV rated.
- The SAE leads and connectors from the solar panel make it easy to plug into the roof cap. It is quick to set up and easy to operate.
Disadvantages of the 100 watt flexible solar panel kit
The panel does flex, but the recommendation is to flex it as minimally as possible. This is to prevent microcracking.
You cannot use the 100 watt flexible solar panel as a portable solar module.
The charge controller is for indoor use only. It is not IP rated. Do not expose to rain.
To Mention
They build the solar panel kit in the USA. It is a very good buy.
This is a great design and the customer service is very good.
It is possible to buy an extension cable to make the system more flexible and easier to use.
Warranty
The 100 watt flexible solar panel kit comes with a 5-year output warranty.
It has a limited 90-day manufacturer warranty
Also a 25-year power output manufacturer warranty
There is a 1-year warranty on the charge controller.
To conclude
You can buy the 100 watt flexible solar panel with confidence. Your solar investment will be safe and secure.
You can click here for a similar panel from Zamp Solar.
Content on this site contains affiliate links. You can click to read about commission payment.
New! Comments
Have your say about what you just read! Leave me a comment in the box below.